Uploading Project Documents
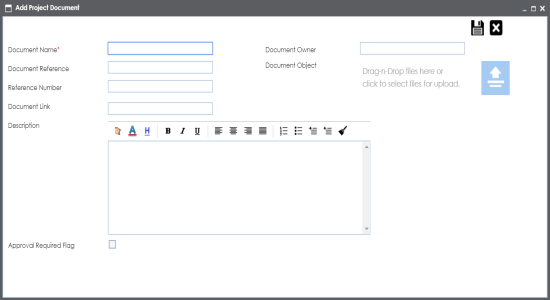
You can upload relevant documents at project level and specify:
- Document name
- Document owner
- Document URL
- Document status
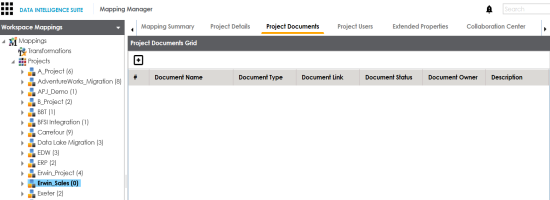
- Go to Application Menu > Data Catalog > Mapping Manager.
- Under the Workspace Mappings pane, click a project.
- Click the Project Documents tab.
- Click
 .
. - Enter appropriate values in the fields. Fields marked with a red asterisk are mandatory. Refer to the following table for field descriptions.
- Click
 .
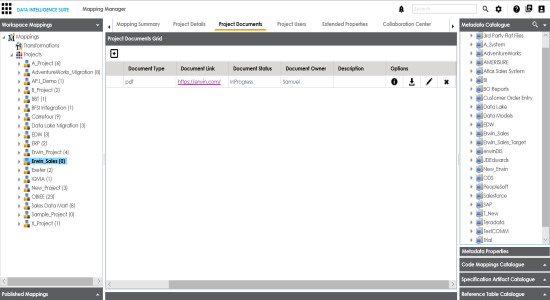
. - Use the following options:
- Information (
 )
)- To view the document information, click
.- Download (
 )
)- To download the document, click
.- Edit
- To edit the document details, click
 .
. - Information (
The following page appears.
The Add Project Document page appears.
|
Option |
Description |
|---|---|
|
Document Name |
Specifies the name of the physical document being attached to the project. For example, Project Details. |
|
Document Reference |
Specifies the name of the reference document. For example, Wikipedia pages. |
|
Reference Number |
Specifies the reference number of the reference document. For example, KB_230145. |
|
Document Owner |
Specifies the document owner's name. For example, John Doe. |
|
Document Object |
Drag and drop or use |
|
Document Link |
Specifies the URL of the document. For example, https://drive.google.com/file/l/2sC2_SZIyeFKI7OOnb5YkMBq4ptA7jhg5/view |
|
Description |
Specifies the description of the document. For example: The document is to keep a record of description and data dictionary of the system. |
|
Approval Required Flag |
Specifies whether the document requires approval or not. Select the Approval Required Flag check box to select the document status. |
|
Document Status |
Specifies the status of the document. For example, In Progress. Select the status of the document from the drop down. This field is available only when the Approval Required Flag check box is selected. |
The project document is saved in the Project Documents Grid.
|
Copyright © 2020 erwin, Inc.
All rights reserved.
|
|